It is the classic post-production trap. A project wraps, the final ProRes export is delivered to the client, and you immediately pivot to the next deadline. But instead of properly cleaning house, the old project folder stays exactly where it was—sitting right on your ultra-fast, premium NVMe external drive.
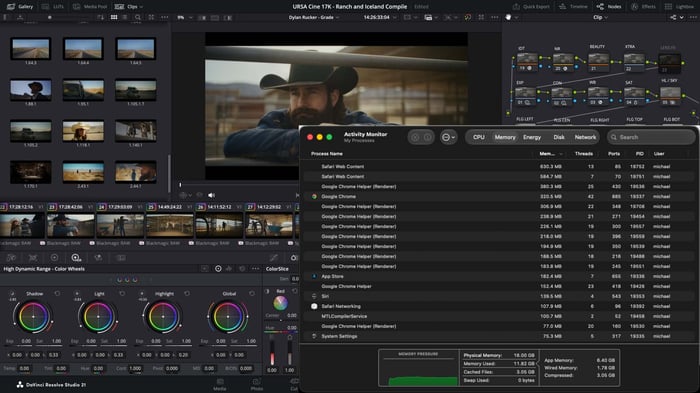
A few months later, your timeline starts dropping frames. You get a "Disk Almost Full" warning mid-render. You look under the hood and realize your lightning-fast production drives have become digital attics, cluttered with old raw footage, multi-gigabyte cache files, and completed timelines.
Leaving completed projects on high-tier NVMe SSDs is like renting a commercial storage locker just to store empty cardboard boxes. It slows down your current workflow and wastes expensive, high-speed solid-state real estate.
To keep your edit bay running at peak performance, you need to transition from passive hoarding to aggressive archiving.
The Core Concept: Cold vs. Hot Storage
To build a professional data pipeline, you have to separate your media into tiers based on how fast you actually need to access it:
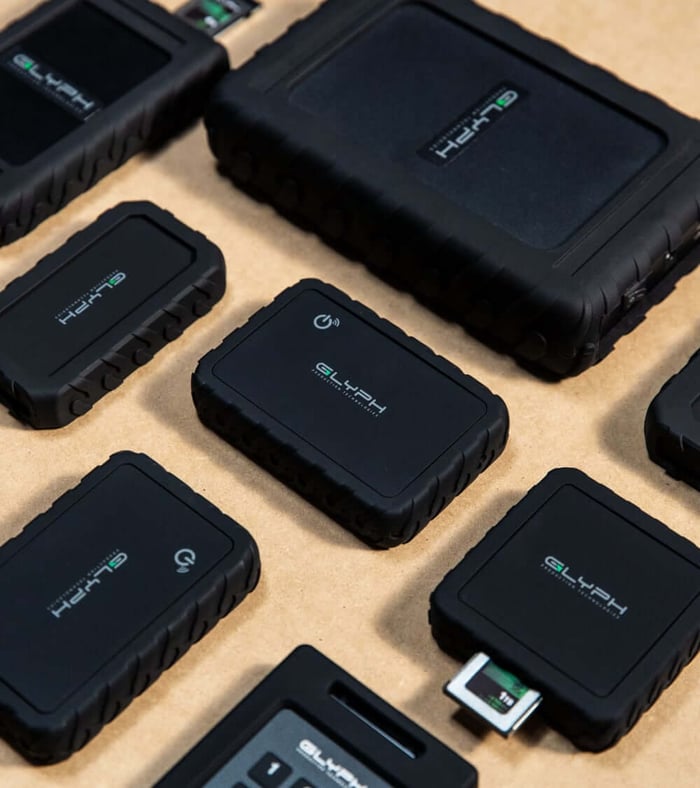
Hot Storage (Production): This is where active projects live. It requires maximum read/write speeds to handle multi-cam playback, RAW formats, and intensive scratch disk caches. This is the domain of high-speed NVMe drives like the Glyph Atom Pro.
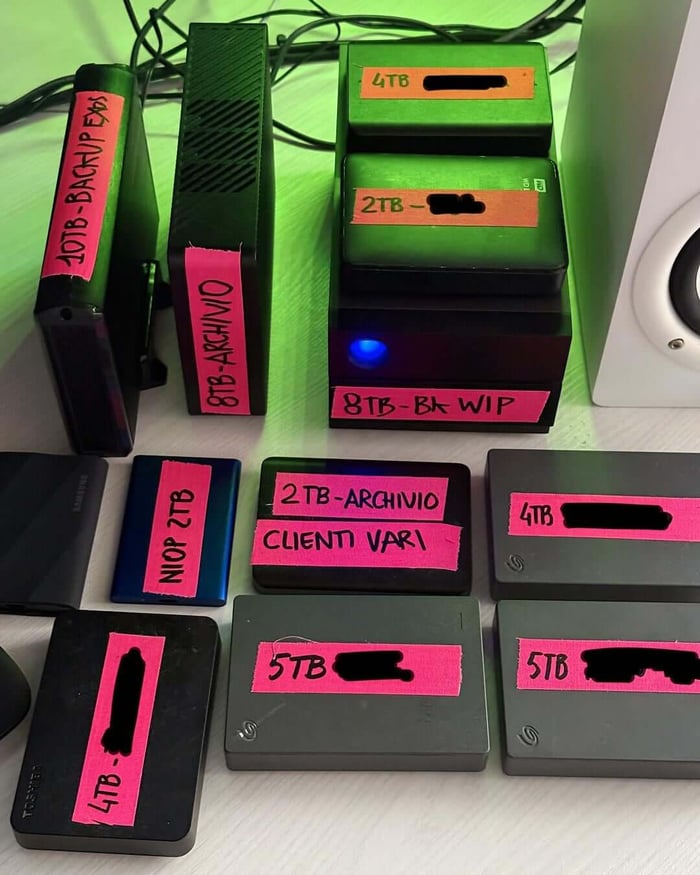
Cold Storage (Archive): This is for completed projects that clients might ask to modify a year from now. Speed doesn't matter here; maximum capacity, reliability, and low cost-per-gigabyte are what count. This belongs on high-capacity mechanical hard drives (HDDs) or enterprise RAID systems like the Glyph Blackbox Pro series.
Your 4-Step Checklist for Aggressive Archiving
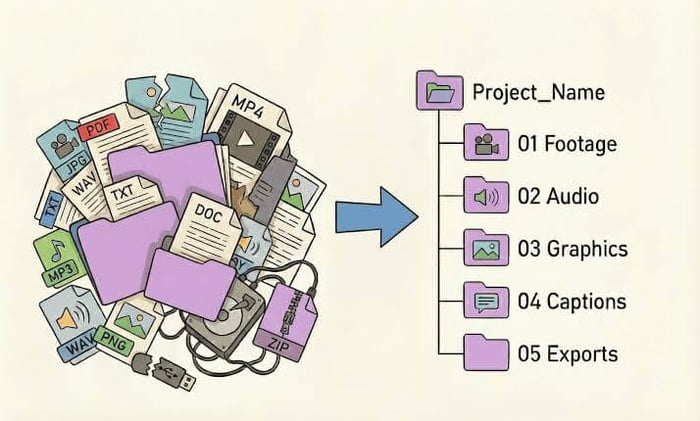
Before you move a single folder off your active drive, you need to strip away the dead weight. A standardized folder structure makes this process seamless.
1. Delete the "Easy Junk" First
Never archive what you can re-generate in seconds. Open your project folders and completely delete your Render Files, Media Caches, and Peak Files. Your non-linear editors, like Adobe Premiere, will recreate these instantly if you ever have to reopen the project, saving you dozens of gigabytes per project.
2. Consolidate Your Footprint
If you shot 2 terabytes of footage but only used 50 gigabytes in the final cut, you don't necessarily need to archive the unused takes. Use the Media Management tool in DaVinci Resolve or Project Manager in Premiere Pro to copy only the clips used in your final timeline (plus a few seconds of handle length for safety) to a clean, consolidated folder.
3. Move the Project to High-Capacity HDDs
Once the project folder is lean and stripped of caches, transfer it from your NVMe SSD over to a high-capacity mechanical desktop drive. Enterprise-class 7200RPM HDDs offer massive storage arrays at a fraction of the cost of solid-state storage, making them the financial sweet spot for long-term data curation.
4. Implement the 3-2-1 Rule
Moving files to a single desktop archive drive isn't an archive—it's a gamble. A true professional archive follows the industry-standard 3-2-1 backup strategy:
Keep 3 copies of your data.
Store them on 2 different types of media (e.g., local HDD and Cloud).
Keep 1 copy offsite (such as a cloud repository or a physical drive kept at a separate office location) to protect against fire, theft, or localized disasters.
Free Up Your Speed
By treating your high-speed SSDs purely as high-octane workspaces rather than permanent storage vaults, you preserve the life of your hardware and ensure your edit bay is always ready for the next 8K or multi-cam timeline. Stop hoarding, start archiving, and keep your creative pipeline moving.