If you’ve spent any time on a busy video shoot, you know how quickly things can get chaotic. Thousands of dollars in camera gear are constantly being carried around, bumped into door frames, or set down on rough concrete. While metal camera cages are great for mounting accessories, rigid aluminum doesn’t do much to absorb shock when a monitor takes a tumble or a cable gets accidentally yanked sideways. That’s where Thermoplastic Polyurethane (TPU) and modular 3D printing systems like Gridfinity come in.
TPU is a flexible 3D printing filament that bridges the gap between hard plastic and soft rubber. Instead of buying expensive, one-size-fits-all plastic covers or messy pick-and-pluck foam, filmmakers, Digital Imaging Technicians (DITs), and camera assistants are using TPU and 3D printing to build lightweight, custom-fit armor and zero-rattle cart drawers that keep their gear safe and organized in the field.
1. Why TPU is a Game-Changer for Protection
Rigid plastics like PLA can snap or shatter under sudden pressure. TPU, on the other hand, flexes when hit and bounces right back to its original shape. According to Formlabs' TPU guide, this material offers incredible tear strength, weather resistance, and oil tolerance—making it ideal for dusty locations, humid shoots, or cold morning sets.
In real-world production terms, TPU gives you three big advantages:
Shock Absorption: It cushions drop impacts before the energy reaches delicate internal circuit boards or camera sensors.
Vibration Reduction: It dampens micro-jitters on moving shots, which is why TPU mounts are so popular on UAVModel’s FPV drone setups.
Extra Grip: It provides a rubbery, non-slip texture for camera handles, focus gears, and dial covers.
2. Practical Ways Creators Are Safeguarding Their Rigs
Here are a few popular ways creators are putting TPU to work right now:
Custom Lens Caps & Body Covers
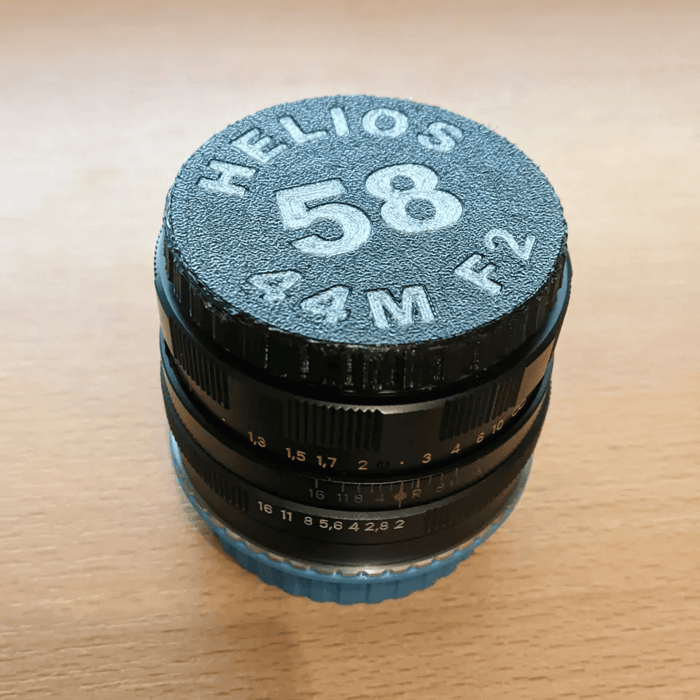
Standard plastic lens caps love to pop off at the worst possible moment. Soft TPU caps slide on smoothly with a snug friction fit, protecting delicate glass elements from dust and scratches. You can even print filter sizes right on the front so you aren't digging around blindly in a dark camera bag, similar to these ready-to-print lens protection designs on MakerWorld or customizable options from MakerWorld's lens cap collection.
Field Monitor Corner Bumpers
External field monitors (like Atomos or SmallHD displays) are essentially glass screens sitting on top of a rig. Printing flexible corner bumpers absorbs corner impacts on concrete without blocking screen views or cooling vents. For ideas on creating custom mounts and protective gear, check out this video on 3D printed camera monitor arm adapters.
Cable Strain Relief Locks
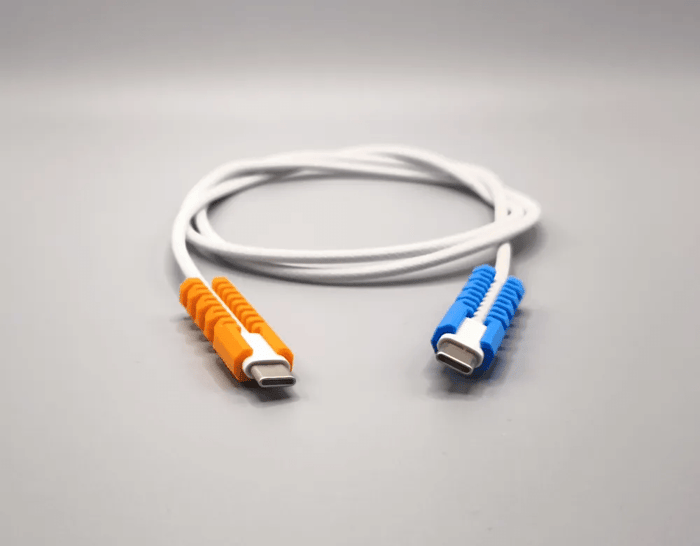 Snapping a delicate HDMI or SDI port on a camera body is one of the quickest ways to ruin a shoot day. Flexible TPU strain-relief clips lock cables in place so that any accidental tugs flex the print instead of yanking the camera’s internal board. You can see how handy these designs are in this breakdown of 3D printed cable organizers for filmmakers or this quick guide on custom-fit TPU cable pass-throughs.
3. Gridfinity: Clean Drawers & DIT Cart Organization
Protecting your camera rig is only half the job on set—keeping your small gear organized so it doesn't rattle around in cart drawers is the other. That’s why film crews are obsessing over Gridfinity, the open-source modular drawer system.
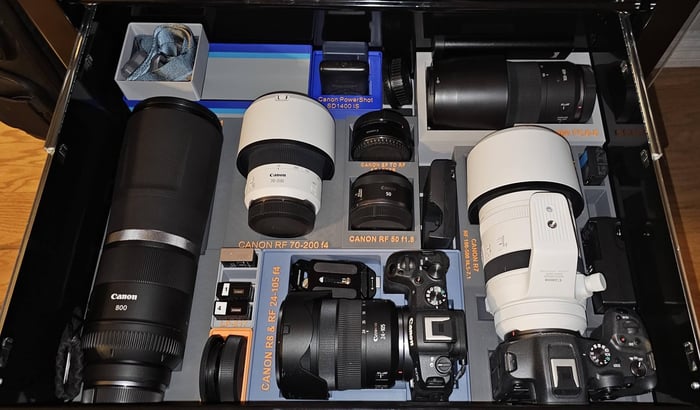
By lining the drawers of Pelican cases, flight kits, or mobile DIT carts with a Gridfinity baseplate, you get a snap-in modular layout tailored to your exact workflow:
TPU-Lined Bins: Instead of foam that tears up after a few months, DITs print custom Gridfinity bins shaped for NVMe card readers, media caddies, wireless transmitters, and batteries. Printing a soft TPU liner inside the bin prevents bare metal gear from scratching during transit.
Zero-Rattle Carts: Rolling a cart over gravel or cobble streets usually turns drawers into a noisy mess. Gridfinity modules lock firmly into the base grid (often using magnets or rubberized TPU feet) so every drive and reader stays right where you put it.
Easy Upgrades: When you buy a new reader or battery charger, you don't have to carve up a new block of foam. You just print a single new bin and pop it straight into your grid.
You can grab community-designed layouts on Gridfinity's open-source hub or browse camera drawer storage files on Printables.
4. Why Bring a 3D Printer Into Your Production Setup?
Adding a 3D printer to your studio or production truck isn't just about making cool gadgets—it's an insurance policy against production downtime. When a $20 custom bracket breaks on location, ordering a replacement can mean waiting 3 to 5 business days for shipping while a crew sits idle. With a printer in your kit, you can download or design a solution and have a working part ready by the morning call time.
What to Look for in a TPU-Capable Printer
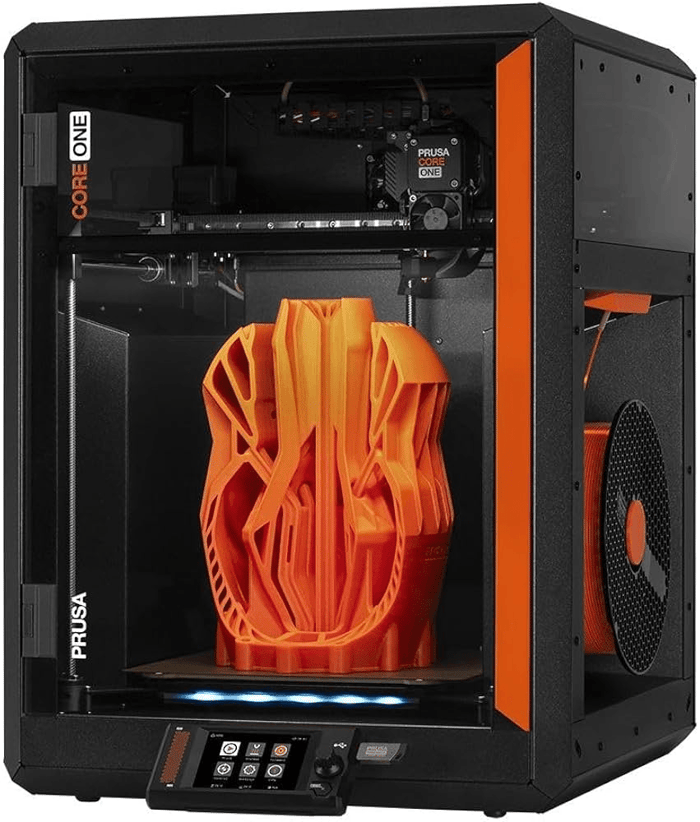
Flexible filaments like TPU are notorious for jamming older or budget 3D printers because the soft filament acts like a wet noodle when pushed through a long tube. If you're buying a printer for film gear, look for these key features:
Direct-Drive Extruder (Essential): Avoid "Bowden tube" setups. A direct-drive extruder places the motor directly above the hotend, squeezing TPU straight into the nozzle with zero room for the filament to bend or bind.
Enclosed Print Chamber: While TPU doesn't warp as aggressively as ABS, an enclosure keeps the ambient temperature steady and protects prints from drafts if you're printing inside a garage, truck, or outdoor location.
Filament Dryer Compatibility: TPU acts like a sponge for airborne moisture. Wet TPU leads to popping noises, weak layer adhesion, and stringy prints. Look for a printer setup that lets you print directly out of a heated dry box or active filament dryer.
Auto-Bed Leveling & PEI Sheets: You want a hassle-free, push-button machine (like modern Bambu Lab, Prusa, or Creality K1 series printers). Flexible TPU grips textured PEI build plates perfectly and pops off easily once cool.
5. Picking the Right Shore Hardness for Your Gear
TPU comes in different levels of flexibility, measured by its "Shore Hardness" rating. As explained in Flashforge’s TPU printing overview, choosing the right rating depends on what you're building:
Shore Rating | Flex & Feel | Best Camera Use | Print Ease
|
|---|---|---|---|
85A | Squishy (like a thick rubber band) | Gimbal vibration pads, lens seals, eyecups, soft bin liners | Requires slow speeds |
95A | Firm flex (like a shoe sole) | Monitor bumpers, lens caps, body guards, custom cart bins | Standard / Easiest to find |
98A / 64D | Semi-rigid (like a hard rubber boot) | Rod caps, cable clips, structural brackets, Gridfinity baseplates | Prints almost like regular PLA |
6. Quick Printing Tips for Strong TPU Parts
If you're ready to print your own parts, these practical recommendations from Siraya Tech's TPU resource and general guides like PrintStack's camera accessories guide will help you get strong results:
Print Slow: Keep speeds between 15–30 mm/s so the flexible filament doesn't tangle inside the extruder.
Keep It Hot: Print between 220°C–240°C to ensure the layers melt together tightly for maximum strength.
Dry Your Filament: TPU absorbs moisture quickly. Drying your spool before printing prevents bubbles and stringy prints.
Use Gyroid Infill: A 30% to 50% Gyroid or Cubic infill gives you the best mix of squish and structural support.
For a wider look at what filmmakers are building, check out this walkthrough on 3D printed camera gear in action.
Conclusion
You don't need a huge production budget to keep your gear safe and organized on set. By combining flexible TPU armor on your camera rigs with modular Gridfinity drawer systems on your carts, you can build a clean, protective production workflow that keeps your equipment running smoothly shoot after shoot.